Ever looked at a stylish pixie cut and thought, "I could rock that," but felt hesitant to visit a salon? I get it. The idea of a dramatic chop can be scary, especially when you're putting your trust in someone else's hands. But what if I told you that you could achieve a stunning pixie haircut right in the comfort of your own home? Yes, it's possible, and it’s not as daunting as it seems. This article is your guide to mastering a pixie haircut tutorial at home, breaking down the process into manageable steps. We’ll start by gathering the right tools, then move into the actual cutting techniques, and finally, we’ll explore different styling methods to make your new look uniquely yours. Forget the salon jitters; let's embark on this exciting hair adventure together. I’ll share my experiences, what I’ve learned from my own hair mishaps (trust me, there have been a few!) and tips from experts, ensuring that you feel confident and capable every step of the way. This isn't just about cutting hair; it's about empowering you to take control of your style.
Prep Like a Pro: Tools and Techniques for Your Pixie Haircut at Home

Prep Like a Pro: Tools and Techniques for Your Pixie Haircut at Home
Gathering Your Arsenal: Essential Tools
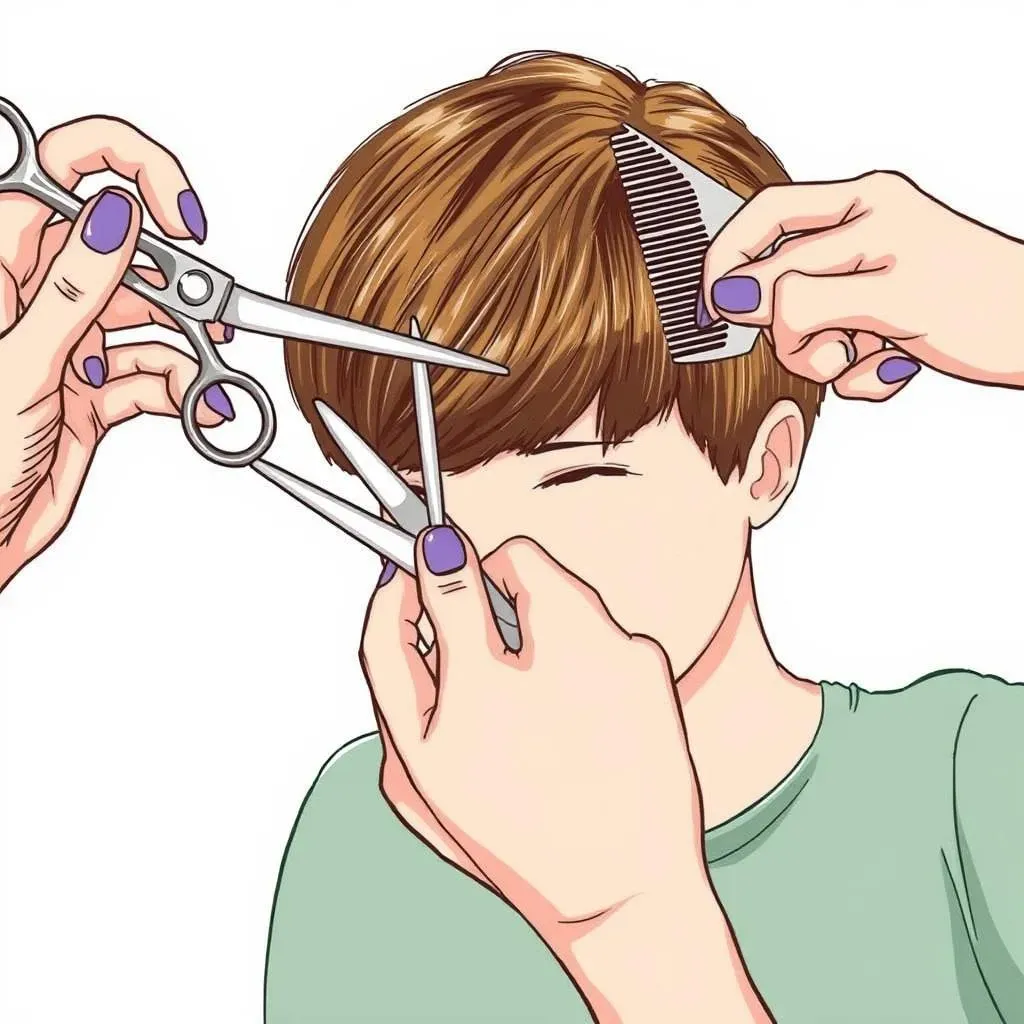
Okay, so you're ready to take the plunge, but before you grab just any old pair of scissors, let's talk tools. Getting the right equipment makes a huge difference. It's like trying to paint a masterpiece with a toothbrush; it might work, but it's going to be messy. You’ll need sharp hair-cutting shears, not the kitchen scissors that you use for opening packages. Those are a big no-no. A fine-tooth comb is crucial for sectioning and precision, and some hair clips will help keep the hair you're not working on out of the way. Trust me, sectioning is your friend.
Also, think about investing in a spray bottle for dampening your hair. Dry hair is harder to cut and more prone to mistakes. A good mirror is also essential, preferably one that allows you to see the back of your head. I’ve tried using my phone camera as a mirror, and let’s just say, that didn’t end well. So, get a proper mirror; your future self will thank you. And finally, a cape or an old towel to catch all the hair. You don’t want to be finding rogue hairs in your socks for the next month.
Must-Have Haircutting Tools
- Sharp Haircutting Shears: Not kitchen scissors!
- Fine-Tooth Comb: For sectioning and precision.
- Hair Clips: To keep hair out of the way.
- Spray Bottle: For dampening hair.
- Mirror: Especially one to see the back of your head.
- Cape or Old Towel: To catch falling hair.
The Art of Sectioning: Your Hair's Roadmap
Sectioning is the secret weapon for a successful pixie cut. It’s like creating a roadmap for your hair. If you try to cut everything at once, it's a recipe for disaster. Start by dividing your hair into manageable sections using your comb. I usually start with a center part, then section off the top, sides, and back. Imagine you’re building a tiny hair house, one section at a time. You’ll want to use your clips to secure each section, so they don’t get mixed up. This might seem tedious, but it's what separates a good cut from a bad one.
A good tip I learned the hard way is to use smaller sections than you think you need. It gives you more control and helps you avoid those awkward uneven bits. When I first tried cutting my own hair, I went for large chunks, and it looked like a toddler had attacked my head with scissors. Smaller sections are key to a clean, even cut. Think of each section as a mini-project, and you’ll be a pixie-cutting pro in no time. Also, make sure to have a plan in mind for each section. Do you want layers? How short do you want it? This is where your vision comes into play.
Mastering Basic Techniques: Snipping with Confidence
Now, let’s talk about actual cutting techniques. It’s not just about hacking away at your hair. There are a few basic moves you need to know. First, always cut with your shears slightly angled; this helps create softer, more natural lines. Never cut straight across like you're chopping vegetables. This will lead to blunt, harsh edges. A great tip is to cut in small increments. It's easier to take more hair off than to put it back on. I once tried to be all bold and cut off a massive chunk, and I ended up with a very asymmetrical mess. So, little snips are your friend.
Another important technique is point cutting, where you hold the shears vertically and snip into the ends of your hair. This helps create texture and removes weight, giving your pixie cut that effortless, cool vibe. It's like giving your hair a gentle massage with scissors, not a full-on wrestling match. And remember, it's okay to start slow. If you’re unsure, cut less than you think you need. You can always go shorter, but you can't go longer without waiting for your hair to grow. It’s all about patience and practice. Don’t be afraid to watch some tutorials online or practice on a mannequin head first. I know it sounds silly, but it really helps.
StepbyStep Pixie Haircut Tutorial at Home: Cutting and Shaping

StepbyStep Pixie Haircut Tutorial at Home: Cutting and Shaping
Starting at the Back: Creating the Foundation
Alright, let’s get into the nitty-gritty of the cut. Start at the back of your head, where mistakes are less noticeable. I like to begin with the nape of my neck, using my comb to lift a small section of hair straight out from my head. Then, I use my shears, angled slightly, to cut across, establishing the length for the back. Think of it like building a wall; you want a solid base to build upon. This first cut is crucial, it's like the foundation of a house. If it's crooked, everything else will be too. So, take your time, and don’t rush. It’s better to cut less and go back for more than to cut too much and have a mini-meltdown.
As you move up the back of your head, continue to take small sections, cutting them to the same length as the first section. This is where your mirror that allows you to see the back of your head really comes in handy. Make sure you're checking your work often to ensure everything is even. I once got so caught up in the process, I didn’t check the back, and ended up with a lopsided bob-pixie hybrid, it was not pretty. Also, don't be afraid to ask a friend to help you check the back; a second pair of eyes can be a lifesaver. Remember, the goal here is not perfection, but a good, solid foundation for your pixie cut.
Key Points for the Back Section
- Start at the Nape: Begin with a small section at the nape of your neck.
- Cut with an Angle: Use angled shears for a softer line.
- Small Sections: Take small sections to ensure evenness.
- Check Often: Use your mirror to check your work frequently.
- Ask for Help: A second pair of eyes can spot mistakes you might miss.
Tackling the Sides: Shaping Your Style
Now, let’s move to the sides. This is where you start to really see your pixie cut taking shape. The sides are all about blending the back with the front. Start by taking a section of hair from the side, comb it out, and use your fingers to guide the hair to the same length as the back. Cut with your shears angled slightly. If you’re going for a more layered look, you can use a point-cutting technique here to create texture. It's like you're sculpting a work of art, each snip bringing it closer to your vision.
When I do the sides, I like to work in small sections, and compare each cut side with the other to make sure they are the same length. Uneven sides can look awkward, so take your time. If you want to have some pieces longer that is ok, but you want to make sure that is your goal. The goal here is to create a smooth transition from the back to the front, avoiding any harsh lines. Also, remember to keep your hair damp, you don't want it to dry out and make it harder to cut. It's like trying to carve a block of wood that’s half-dry; it’s just not going to work as well.
Side Cutting Tips
Tip | Description |
|---|---|
Blend Sides with Back | Ensure a smooth transition from the back to the sides. |
Use Finger Guidance | Use your fingers to guide the hair to the correct length. |
Compare Sides | Regularly check to ensure both sides are even. |
Point Cutting | Use point cutting for texture and layers. |
Finishing the Front: Framing Your Face
Finally, the front! This is where your pixie cut will really come to life. How you cut the front sections will determine how your pixie frames your face. Some people go for a short, choppy fringe, while others prefer a longer, side-swept look. It is all up to you. When cutting the front, start with a center section and work your way out to the sides. Use your fingers to guide the hair and cut with your shears angled, always making sure to cut less than you think you need. It is easier to cut more than to grow it back.
If you’re doing a fringe, remember to cut it a bit longer than you want it to be. Hair tends to bounce up when it’s dry, so it’s always better to err on the side of caution. When I first cut my fringe, I went too short, and it looked like I had a little helmet on. Not a great look. So, start a bit longer, and then trim it up as needed. Remember, patience is key. This process is not a race, and it’s okay to take breaks and come back to it. The goal is to get a pixie cut that makes you feel confident and fabulous, so take your time, and enjoy the process.
Styling Your New Pixie Haircut: Tips and Tricks for a Flawless Finish

Styling Your New Pixie Haircut: Tips and Tricks for a Flawless Finish
Products for Pixie Perfection: Choosing Your Arsenal
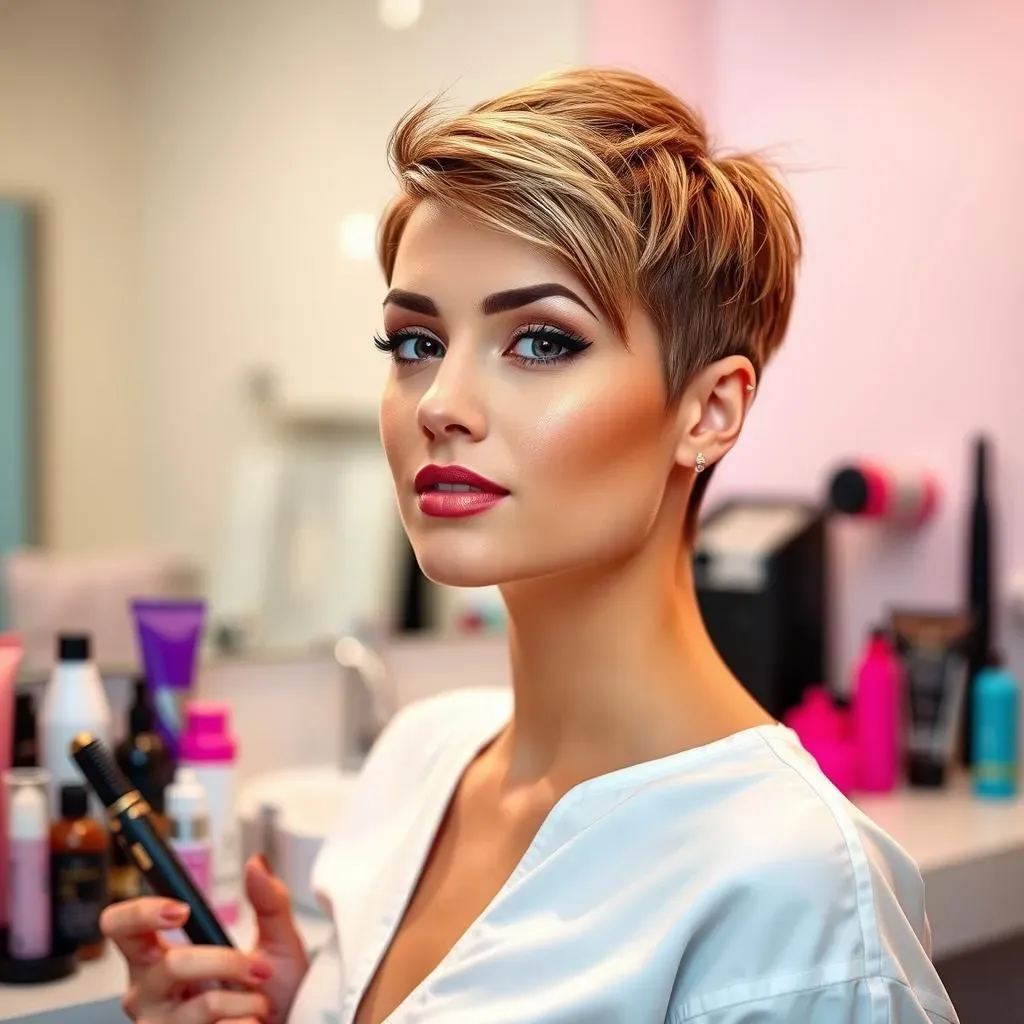
Alright, you've got the cut, now let's talk styling. The right products can make or break a pixie, it's like the secret sauce to a delicious meal. For texture, I swear by a good texturizing paste or clay. These are great for adding definition and that cool, messy look without being too stiff. I once tried using hair gel, and it looked like I had a helmet on, so trust me, go for the paste or clay. A lightweight hair wax can also be a great option for adding a bit of shine and hold. Just remember, less is more. You don’t want to look like you’ve dipped your head in a jar of product. And for those days when you want a sleek look, a smoothing serum is your best friend. It helps tame flyaways and adds a polished finish. I usually apply it to damp hair before blow-drying, and it makes a world of difference.
Don’t be afraid to experiment with different products to see what works best for your hair type and desired style. What works for me might not work for you, and that’s okay. It’s all about finding your go-to products. Also, consider investing in a good quality hairspray to keep everything in place, especially if you have fine hair that tends to fall flat. Look for one with a flexible hold, so your hair doesn’t feel crunchy. And remember, always apply products sparingly, you can always add more if needed. I’ve definitely made the mistake of overdoing it, and ended up having to wash my hair and start all over again. So, learn from my mistakes and start small.
Must-Have Pixie Styling Products
- Texturizing Paste or Clay: For definition and a messy look.
- Lightweight Hair Wax: Adds shine and hold.
- Smoothing Serum: Tames flyaways for a sleek finish.
- Flexible Hold Hairspray: Keeps everything in place without stiffness.
Styling Techniques: From Messy to Sleek
Now, let’s talk about styling techniques. For a messy, textured look, start by applying a small amount of texturizing paste or clay to your fingertips. Then, work it through your hair, focusing on the roots and ends. You can use your fingers to create separation and add volume. Don’t be afraid to tousle your hair and create a bit of a bedhead vibe. This style is all about being effortless and cool. I usually flip my head upside down while applying the product, it gives me more volume. And if you want to amp up the messy look, use a diffuser on your blow dryer, it helps enhance the natural texture of your hair.
If you’re going for a sleek and polished look, use a smoothing serum on damp hair, then blow-dry using a round brush, smoothing out each section as you go. This style is perfect for more formal occasions or when you want to look a bit more put-together. I usually finish this style with a light mist of hairspray to keep everything in place. And remember, practice makes perfect. Don’t be discouraged if your first few attempts don't turn out exactly how you envisioned. Keep experimenting and you'll eventually find the styling techniques that work best for you and your unique pixie cut. And most importantly, have fun with it! Your pixie is a canvas, and you get to be the artist.
Styling Methods
Style | Technique |
|---|---|
Messy & Textured | Apply texturizing paste, tousle hair, use a diffuser for volume. |
Sleek & Polished | Use smoothing serum, blow-dry with a round brush, finish with hairspray. |