Table of Contents
So, you've got gorgeous curls, but those unruly ends are driving you crazy? Don't despair! This "curly hair cut tutorial for beginners" is your ultimate guide to conquering the at-home trim. We'll walk you through every step, from gathering the right tools to achieving a salon-worthy finish. Forget expensive appointments and frustrating salon experiences; this guide empowers you to take control of your curls. We'll demystify the process with clear instructions and helpful tips, ensuring you feel confident and capable throughout. First, we'll cover essential preparations: gathering the right tools and getting your curls ready. Then, we'll dive into different cutting techniques, perfect for various curl types and desired styles. Finally, we'll explore styling and maintenance tips to keep your new cut looking its best. Get ready to unleash your inner stylist and embrace your beautiful, bouncy curls! Let's get started!
Gathering Your Tools and Prep

Gathering Your Tools and Prep
Essential Tools for a Successful Trim
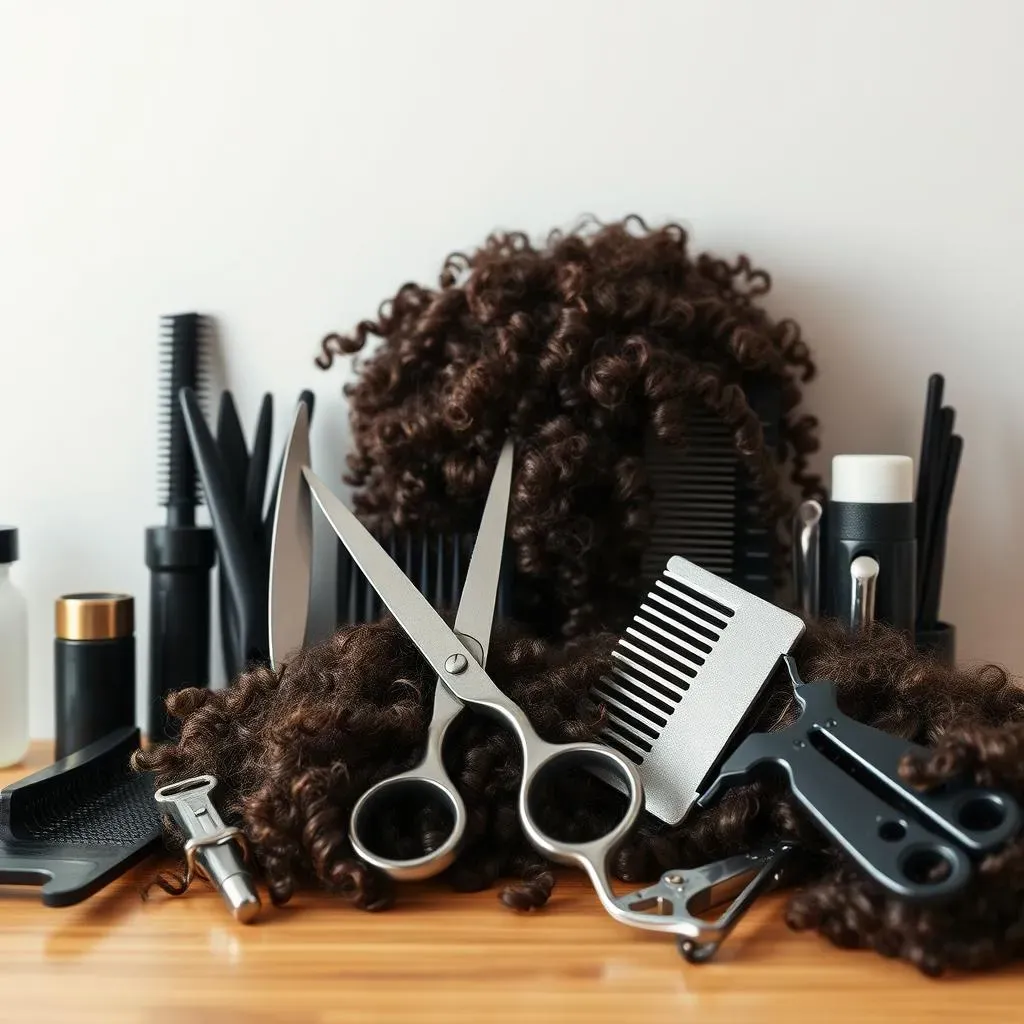
Before you even think about snipping a strand, gather your arsenal! You'll need sharp hair-cutting shears – trust me, kitchen scissors won't cut it (pun intended!). These are specifically designed for hair and will give you a much cleaner, more precise cut. You'll also want a wide-tooth comb to detangle your curls without causing breakage. Sectioning clips are your best friend for keeping things organized, and a handheld mirror will help you see the back of your head. For those with particularly thick or long curls, consider investing in a spray bottle for lightly dampening sections as you work. Finally, don't forget a clean towel to keep your workspace tidy.
Choosing the right tools is half the battle. Dull scissors will lead to uneven cuts and split ends, undoing all your hard work. Investing in good quality shears is an investment in your hair's health. For extra styling tips, check out our guide on curly hair cut maintenance. Remember, patience is key! Take your time and don't rush the process. Rushing will only lead to mistakes, and nobody wants that.
Tool | Purpose |
|---|---|
Hair-cutting shears | Precise and clean cuts |
Wide-tooth comb | Gentle detangling |
Sectioning clips | Organized sections |
Handheld mirror | Visibility of the back |
Spray bottle (optional) | Dampening sections |
Prepping Your Curls for the Cut
Now, let's get those curls ready! The best time to trim curly hair is when it's dry. Wet curls shrink, making it hard to judge length accurately. Ideally, trim your hair on day two or three after washing, allowing your curls to settle into their natural shape. Before you begin cutting, make sure your hair is completely dry and free of product. This ensures you can see the true length and texture of your curls, which gives you more accurate control.
Start by gently detangling your curls with your wide-tooth comb, working from the ends up to avoid pulling or causing breakage. Once detangled, carefully section your hair using the clips. This will make the cutting process much easier and more precise. If you’re feeling adventurous, you can try different sectioning techniques. Thinking about a wedding soon? Our guide on curly cuts for weddings has some great ideas. Remember, a little preparation goes a long way towards a successful and satisfying trim.
- Wash and dry your hair (day 2 or 3 hair is ideal)
- Gently detangle with a wide-tooth comb
- Section your hair using clips
- Ensure your hair is completely dry and free of product
The Big Chop: Techniques and Tips for Cutting Curly Hair

The Big Chop: Techniques and Tips for Cutting Curly Hair
The Point Cutting Method: Snip, Snip, Hooray!
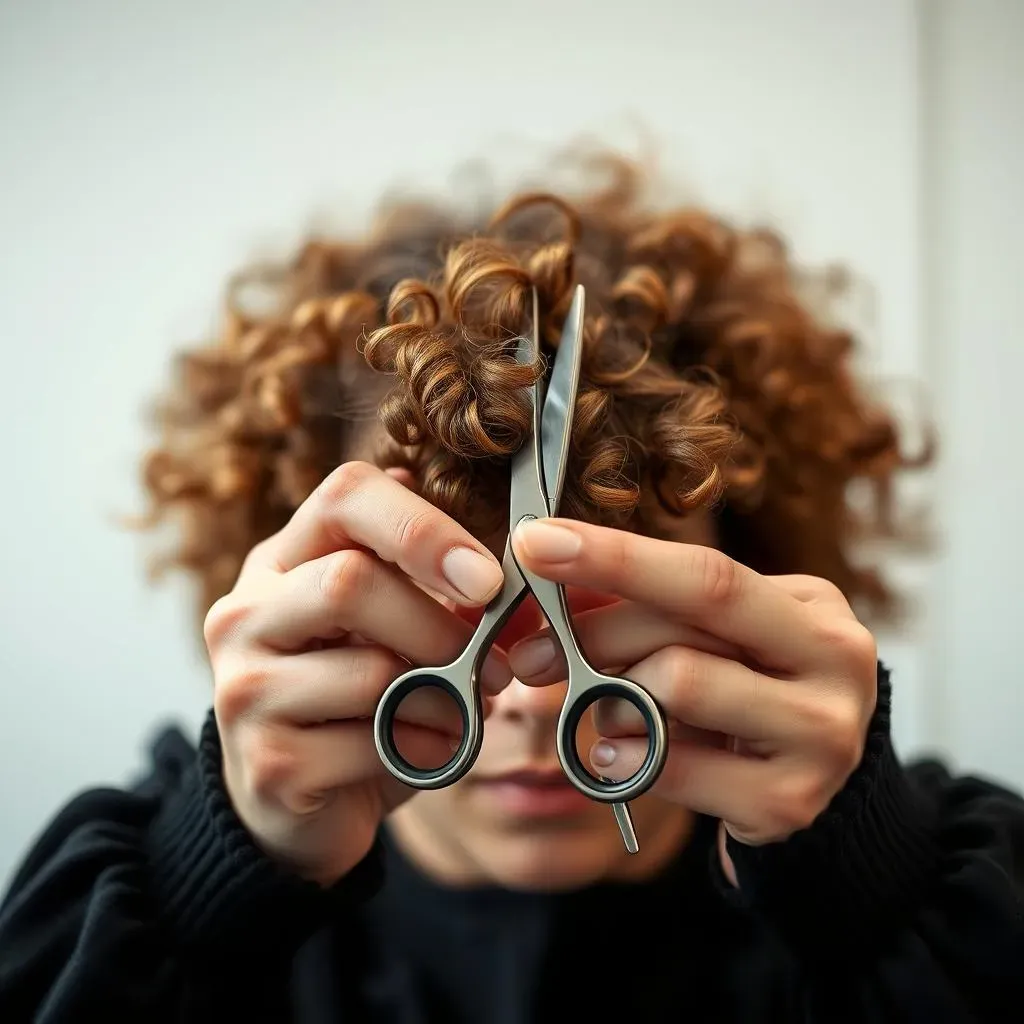
Alright, let's talk point cutting! This technique is your secret weapon for removing bulk and adding texture to your curls without losing length. Instead of cutting straight across, you'll hold your shears vertically and lightly snip into the ends of your curls. This creates a softer, more natural look. Imagine it like sculpting clay – you're shaping your curls, not just chopping them off. It's a great way to remove split ends and create movement in your hair.
Remember to work in small sections, and don't cut too much at once. Start with tiny snips and gradually work your way to your desired length. Practice makes perfect, so don't be afraid to take your time and experiment. For inspiration, check out our guide on layered curly haircuts. It's full of ideas and techniques to help you get the most out of your curls.
- Hold shears vertically
- Lightly snip into the ends
- Work in small sections
- Don't cut too much at once
Layering for Volume and Shape: Level Up Your Curls
Layering is another fantastic technique for adding volume and shape to your curls. This involves cutting different sections of your hair at varying lengths. This creates movement and dimension, preventing your curls from looking flat or heavy. You can achieve various levels of layering, from subtle to dramatic, depending on your preferences and hair type. This is especially helpful for those with thick or dense curls.
When layering, think about the overall shape you want to achieve. Do you want soft, rounded layers, or more defined, structured ones? Remember to work slowly and methodically, and don't be afraid to ask for help if you're feeling overwhelmed. Our guide on curly cuts for round faces might give you some ideas on how to best layer your hair based on your face shape. A well-layered cut can truly transform your look.
Layer Type | Description |
|---|---|
Long Layers | Subtle length variation |
Short Layers | More dramatic volume |
Face-Framing Layers | Highlights facial features |
The Dry-Cutting Method: Seeing is Believing
As we mentioned earlier, dry cutting is crucial for curly hair. Because wet curls shrink, cutting them while wet can lead to unexpected results. Dry cutting allows you to see exactly how much you're removing and ensures a more precise cut. It’s a game-changer for achieving the look you want. Remember, patience is key. Take your time, and don't be afraid to go slowly.
Start by sectioning your hair and working on small portions at a time. Use your fingers to guide the hair as you cut, and always point cut to avoid blunt lines. Remember to regularly check your work using your handheld mirror to ensure evenness. Need some extra tips? Our guide on cutting curly hair at home has more advice. With practice, you'll become a pro at dry cutting your curls.
Styling and Maintaining Your New Curly Cut

Styling and Maintaining Your New Curly Cut
Product Power: Enhancing Your Curls
Now that you've got your amazing new curly cut, it's time to show it off! The right products can make all the difference in defining your curls, controlling frizz, and adding shine. Experiment with different curl creams, gels, and mousses to find what works best for your hair type. A leave-in conditioner can also be a lifesaver, adding extra moisture and preventing dryness. Remember, less is often more when it comes to styling products. Start with a small amount and add more as needed.
Consider your hair's porosity when choosing products. High-porosity hair needs heavier creams and oils to retain moisture, while low-porosity hair benefits from lighter, water-based products. Don't be afraid to try different combinations to find your perfect routine. For more ideas on styling, check out our guide on the best haircuts for curly hair. Remember, having fun with your hair is part of the process!
- Curl cream
- Gel
- Mousse
- Leave-in conditioner
Long-Term Care: Keeping Those Curls Happy
Maintaining your gorgeous new curly cut is all about consistent care. Regular trims (every 6-8 weeks) will prevent split ends and keep your curls looking their best. Deep condition your hair at least once a week to keep it hydrated and healthy. This is especially important for curly hair, which tends to be drier than other hair types. Avoid using heat styling tools as much as possible, as they can damage your curls and lead to breakage.
Protect your curls at night by sleeping on a satin pillowcase or using a satin bonnet. This will minimize friction and prevent frizz. Remember, healthy hair is happy hair! Regular trims, deep conditioning, and gentle styling will keep your curls bouncy, shiny, and full of life. Need more tips on keeping your curls healthy? Check out our tips on maintaining your curly cut. Taking care of your curls is an investment in your confidence!
Maintenance Tip | Frequency |
|---|---|
Regular trims | Every 6-8 weeks |
Deep conditioning | Once a week |
Satin pillowcase/bonnet | Every night |