Table of Contents
Tired of expensive salon visits and unpredictable results? Ready to take control of your hair and save some serious cash? Then you've come to the right place! This comprehensive guide offers a "women's haircut tutorial at home," empowering you to become your own stylist. We'll walk you through everything from gathering the essential tools and prepping your workspace to mastering basic cuts for various hair types – straight, curly, thick, thin – you name it! Don't worry if you're a complete beginner; we'll break down even the most advanced techniques, like layering and bang trimming, into easy-to-follow steps. We'll also cover the crucial post-haircut maintenance to ensure your new 'do stays looking fabulous. Get ready to unleash your inner hair artist and achieve the perfect haircut, all from the comfort of your own home. Let's get started!
Essential Tools and Prep: Getting Your Station Ready

Essential Tools and Prep: Getting Your Station Ready
Essential Tools and Prep: Getting Your Station Ready
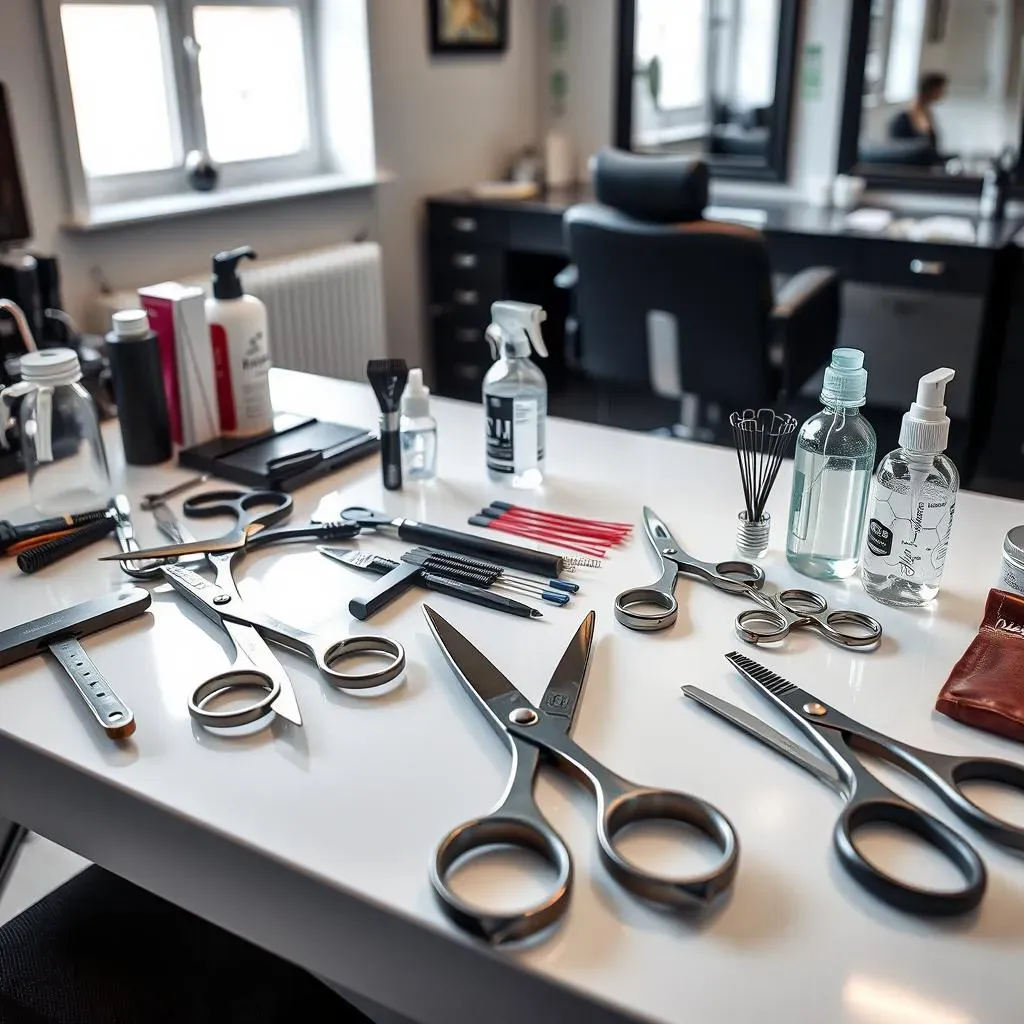
Before you even think about snipping, let's talk tools! You wouldn't bake a cake without the right ingredients, right? The same goes for a successful at-home haircut. First, you'll need sharp hair-cutting shears – trust me, dull scissors are a recipe for disaster (and uneven layers!). A good pair of thinning shears can be helpful for adding texture, especially if you're working with thicker hair. Learn more about thick hair. Next up: a selection of clips to section off your hair. These little guys are lifesavers for keeping things organized. A spray bottle for dampening your hair is also essential; it helps prevent accidental snips and makes the hair easier to manage. Finally, a good mirror, preferably with a hand-held mirror for checking the back, is absolutely crucial. And don't forget a comfortable space where you can sit and work without distractions.
Tool | Importance |
|---|---|
Sharp Hair Cutting Shears | Precision cuts, prevents unevenness |
Thinning Shears | Adds texture, especially for thicker hair |
Hair Clips | Keeps hair sections organized |
Spray Bottle | Keeps hair damp for easier cutting |
Mirrors (at least two) | Allows for all-around visibility |
Once you've gathered your tools, it's time to set up your station. Find a well-lit area with plenty of space. Cover your work surface with a towel or sheet to protect it from stray hairs. Make sure you have a comfortable chair and that your mirrors are positioned so you can clearly see all angles of your hair. A good lighting source is key for precise cutting. Consider using a magnifying mirror for extra precision. If you have a friend who's willing to help, even better! An extra pair of eyes can make a huge difference, especially when it comes to cutting the back of your hair. Choosing the right haircut is important, too.
- Choose a well-lit area
- Protect your work surface
- Use comfortable seating
- Position mirrors for optimal visibility
- Consider a magnifying mirror
- Enlist a friend for assistance (optional)
Basic Cuts for Different Hair Types: Straight, Curly, and Everything In Between

Basic Cuts for Different Hair Types: Straight, Curly, and Everything In Between
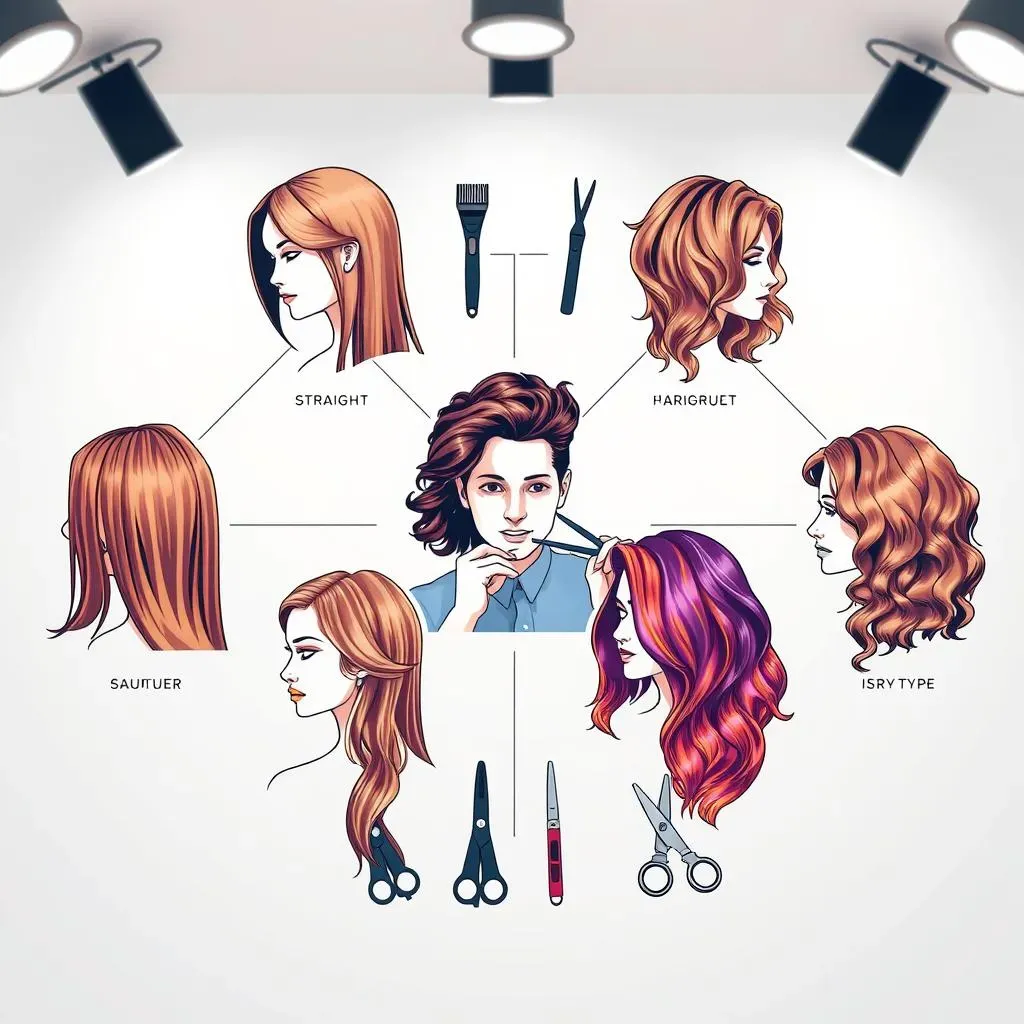
Now that your station is set, let's talk about actually cutting hair! Different hair types require different approaches. Straight hair is generally easier to work with, allowing for precise cuts and clean lines. Start by sectioning your hair into manageable parts, then use your shears to create even layers or a blunt cut, depending on your desired style. Remember to work slowly and check your progress frequently using both mirrors. For a simple trim, just take off small amounts at a time – you can always take more off, but you can't put it back! Need some inspiration for straight hair? Check out our guide on haircuts for straight hair.
- Section hair into manageable parts
- Use sharp shears for precise cuts
- Work slowly and check your progress regularly
- Take small amounts off at a time
Curly hair, on the other hand, is a bit more challenging. Its natural texture can make it difficult to achieve precise cuts. Instead of cutting while dry, consider cutting your curls damp, letting them dry naturally to see the final result. This approach allows you to better visualize the final shape and length. Focus on shaping and removing split ends rather than creating sharp lines. Remember, less is more when cutting curly hair. A little goes a long way! If you're looking for trendy styles, check out the trendy women's haircuts for 2023.
Hair Type | Cutting Technique | Tips |
|---|---|---|
Straight | Precise cuts, even layers | Work slowly, use sharp shears |
Curly | Shape and remove split ends | Cut damp, let dry naturally |
For those with wavy or textured hair, a blend of techniques may be necessary. You might section your hair as you would with straight hair, but you'll want to be more mindful of the natural wave pattern. Consider using thinning shears to add texture and movement. Try to work with your hair's natural fall, allowing the waves to guide your cuts. This will help create a more natural-looking style. If you're unsure of what style would suit you, take a look at our guide on how to choose a women's haircut.
Remember, patience is key. Don't rush the process; take your time and pay attention to detail. If you make a mistake, don't panic! Often, a little more trimming in a different area can fix the problem. And remember, you can always go back to the salon if you're truly stuck. But with practice, you'll become more confident and comfortable with cutting your own hair at home. Plus, you'll save money in the long run!
Advanced Techniques: Layering, Bang Trimming, and Shaping

Advanced Techniques: Layering, Bang Trimming, and Shaping
Layering for Volume and Movement
Adding layers is a great way to add volume and movement to your hair. It's a more advanced technique, but with practice, you can master it. Start by sectioning your hair into horizontal layers, working from the bottom up. Use your shears to point-cut into the ends of each layer, creating a textured look. Don't cut straight across; instead, use small snips to create a feathered effect. This will give your hair a more natural, less-structured look. Remember to work slowly and check your progress frequently. Too much layering can thin your hair out too much, so be careful! Want some inspiration for layered looks? Check out our guide on women's haircuts with layers.
- Section hair into horizontal layers
- Point-cut into ends for texture
- Avoid cutting straight across
- Work slowly and check progress frequently
Taming Those Bangs: A Trimmer's Guide
Bangs can be tricky, but they're also a great way to change up your look. If you're feeling brave, you can trim your own bangs at home. Start by dampening your bangs and combing them straight down. Use your fingers to create a straight line where you want to cut, then carefully snip small amounts at a time. It's always better to err on the side of caution and cut less than more. If you're not comfortable cutting straight across, try point-cutting to create a softer, more textured look. For more specific advice on bangs, you might find our guide on women's haircuts with bangs helpful.
Bang Type | Cutting Technique | Tip |
|---|---|---|
Blunt | Cut straight across | Use a comb as a guide |
Side-swept | Cut at an angle | Cut while slightly pulling the hair |
Textured | Point-cut | Use thinning shears for a softer look |
Shaping and Refining Your Cut
Once you've cut the main sections of your hair, it's time to shape and refine your cut. This involves blending layers, removing any stray hairs, and ensuring that everything looks even and balanced. Use your shears to carefully remove any uneven sections or split ends. Pay close attention to the areas around your face, ensuring that the layers frame your face nicely. You can use a comb to help you see any uneven sections or stray hairs that need to be removed. A final check in the mirror, ensuring everything is even and balanced, completes the process. Remember, practice makes perfect! The more you do it, the more confident and skilled you'll become. For helpful tips on maintaining your new style, take a look at our post on women's haircut maintenance tips.
“The best hairstyle is one that makes you feel confident and beautiful.” - Unknown
Maintenance and Aftercare: Keeping Your New 'Do Looking Fresh

Maintenance and Aftercare: Keeping Your New 'Do Looking Fresh
Washing and Conditioning: The Foundation of Great Hair
So, you've got your awesome new haircut – congrats! Now, let's make sure it stays looking its best. Washing your hair properly is key. Use a shampoo and conditioner suited to your hair type. For example, if you have fine hair, you'll want a volumizing shampoo and conditioner. If you have dry hair, opt for moisturizing products. Avoid over-washing, as this can strip your hair of its natural oils. Aim for every other day or every two to three days, depending on your hair's needs. After washing, gently towel-dry your hair, avoiding harsh rubbing. This will help prevent breakage and frizz. A good conditioner will help keep your hair smooth and hydrated. For more tips on caring for specific hair types, check out our guide on haircuts for curly hair or haircuts for thin hair.
- Use appropriate shampoo and conditioner for your hair type
- Avoid over-washing
- Gently towel-dry your hair
- Consider using a leave-in conditioner for extra hydration
Styling and Protecting: Keeping Your Cut Looking Sharp
Now for styling! Use heat protectant spray before using any heat styling tools like straighteners or curling irons. These tools can damage your hair over time, especially if used frequently. Heat protectant helps to shield your hair from heat damage. When styling, remember that less is often more. Avoid overloading your hair with product, which can weigh it down and make it look greasy. Instead, use a small amount of product and focus on enhancing your natural texture. If you're using heat styling tools, be sure to use them on a low to medium heat setting to minimize damage. Regular trims are also crucial for maintaining a healthy, well-shaped haircut. Aim for a trim every 6-8 weeks to keep your style looking fresh and prevent split ends. For ideas on summer styles, check out our post on women's haircuts for summer.
Styling Tool | Tips for Use |
|---|---|
Straightener | Use a heat protectant, low heat setting |
Curling Iron | Use a heat protectant, low heat setting |
Hair Dryer | Use a diffuser for curly hair |